Windows 11 quietly raised the bar for built-in security, and drive encryption is one of the biggest reasons why. If your laptop gets lost, stolen, or resold, encryption keeps your files unreadable to anyone without your credentials. But Windows 11 doesn’t offer just one encryption option. Instead, you’ll see two related features: BitLocker Drive Encryption and Device Encryption.
They sound similar because they share the same encryption engine. Yet they’re not the same in how you enable them, who gets them, and what control you have. This guide explains the difference, shows how to turn each one on (or off), and—most importantly—how to avoid getting locked out of your own data.
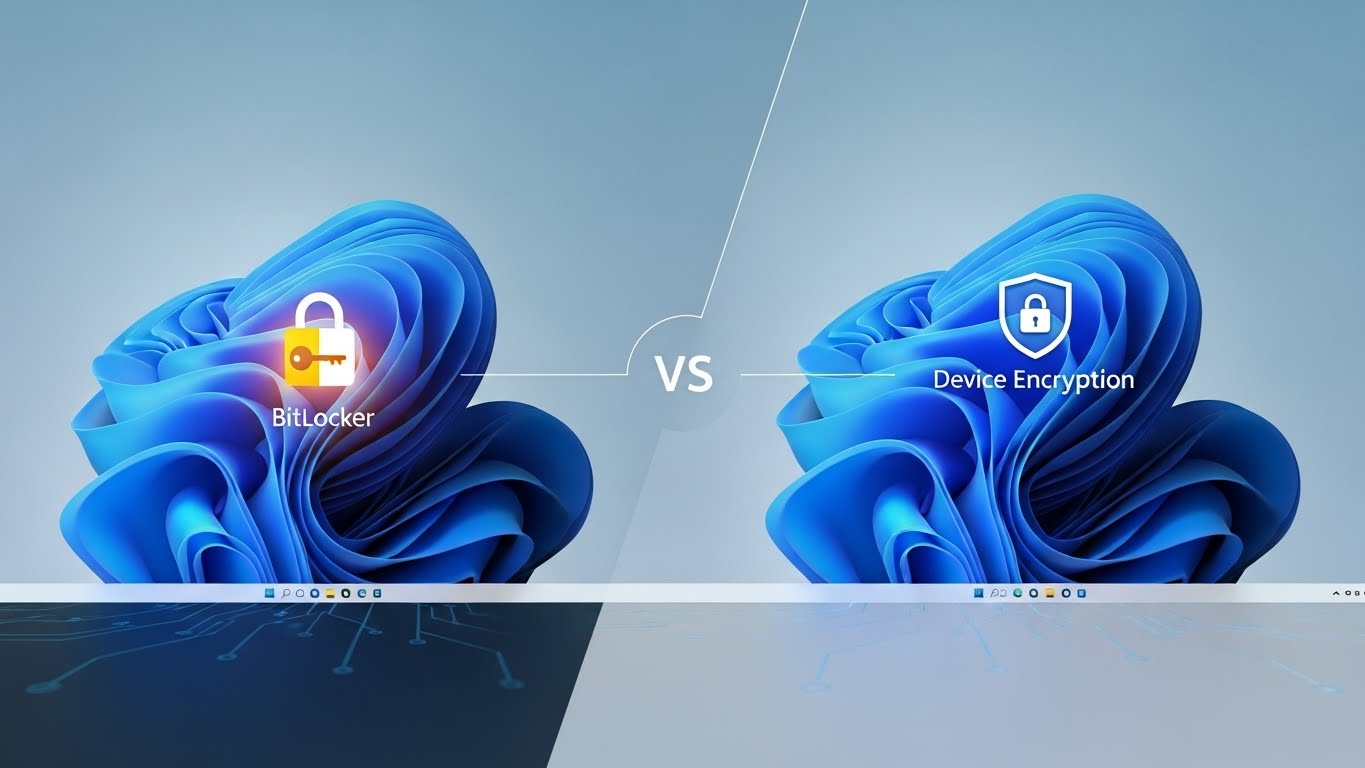
What Is BitLocker on Windows 11?
BitLocker is Microsoft’s full-disk encryption tool built into Windows Pro, Enterprise, and Education editions. It encrypts everything on a drive using strong AES-based encryption, so even if someone removes your SSD and plugs it into another PC, your data stays protected. Microsoft Learn+2Windows Forum+2
BitLocker typically uses the TPM (Trusted Platform Module) to store encryption keys securely. On supported hardware, Windows unlocks your drive automatically after verifying the boot environment is trusted. You can also add extra protection like a PIN, password, or USB startup key. Windows Forum+1
What Is Windows 11 Device Encryption?
Device Encryption is a simplified BitLocker experience aimed at everyday users, especially those on Windows 11 Home. When your device meets certain hardware requirements (TPM, Secure Boot, modern standby), Windows can automatically encrypt your system drive with minimal setup. 4sysops+2Windows 11 Forum+2
Key points:
- It’s “BitLocker under the hood,” but with fewer settings.
- It’s often enabled automatically after you sign into Windows with a Microsoft account.
- You don’t get advanced options like BitLocker To Go or custom policies. 4sysops+2Online Computer Tips+2
BitLocker vs Device Encryption: The Real Differences
Here’s the practical breakdown.
1. Windows edition support
- BitLocker: Windows 11 Pro / Enterprise / Education
- Device Encryption: Windows 11 Home (and sometimes Pro devices default to it too) Windows Forum+1
2. Level of control
- BitLocker: You choose drives, encryption modes, unlock methods (TPM+PIN, password), and recovery storage. Supports Group Policy management.
- Device Encryption: Mostly automatic. Limited customization and no policy-level tuning. Online Computer Tips+24idiotz+2
3. Extra features
- BitLocker includes:
- encrypting removable drives (BitLocker To Go)
- encrypting multiple internal drives individually
- advanced authentication options
- encrypting removable drives (BitLocker To Go)
- Device Encryption lacks: most of those extras. It’s designed to be hands-off. Online Computer Tips+1
4. Target user
- BitLocker: businesses, power users, managed IT environments
- Device Encryption: home users who want protection without complexity 4sysops+1
Why Windows 11 Encryption Matters More Now
Windows 11 (especially version 24H2 on new installs) increasingly enables encryption by default on supported devices, even if you don’t manually turn it on. The upside is better protection. The downside is that users sometimes don’t realize their drives are encrypted until Windows asks for a recovery key. Recent reports show real data-loss cases when recovery keys weren’t saved properly. Windows Central+1
So: encryption is great—as long as you manage your recovery keys.
How to Check If BitLocker or Device Encryption Is On
Quick check in Settings
- Open Settings
- Go to Privacy & security → Device encryption (Home)
or Privacy & security → BitLocker drive encryption (Pro) Windows 11 Forum+1
If you see “On,” encryption is active.
Check drive status (Pro editions)
- Open Control Panel
- System and Security → BitLocker Drive Encryption
You’ll see each drive’s encryption state. Windows Forum+1
How to Enable Device Encryption (Windows 11 Home)
If your device supports it:
- Settings → Privacy & security → Device encryption
- Toggle Device encryption to On
- Windows begins encrypting in the background. 4sysops+1
Important: Your recovery key is typically backed up automatically to your Microsoft account once encryption completes. Into Windows+1
How to Enable BitLocker (Windows 11 Pro/Enterprise)
- Open Control Panel → System and Security → BitLocker Drive Encryption
- Next to your OS drive (usually C:), click Turn on BitLocker
- Choose how you want to unlock the drive:
- TPM only (default)
- TPM + PIN (more secure)
- password
- TPM only (default)
- Back up your recovery key to one or more places (see next section)
- Pick encryption mode and start encryption. Windows Forum+2Microsoft Learn+2
Recovery Keys: The “Don’t Skip This” Part
Both BitLocker and Device Encryption use a 48-digit recovery key. Your PC asks for it when:
- you change firmware/BIOS settings
- BitLocker detects unusual boot changes
- you reinstall Windows
- TPM can’t validate the device state Windows Forum+1
Where to save your recovery key
Best practice is to save multiple copies:
- Microsoft account (automatic for Device Encryption)
- USB drive
- printed copy
- file stored offline
- Azure AD / Active Directory (business devices) Windows Forum+1
To view keys tied to your Microsoft account, sign in to your account’s device recovery section. Into Windows+1
If you lose the recovery key, Microsoft cannot retrieve your data. That’s how strong the encryption is. Windows Forum+1
Should You Turn Encryption Off?
Sometimes users disable it for performance or workflow reasons. Here’s a grounded take:
Reasons to keep it on
- protects your files if your laptop is stolen
- required for many compliance standards
- works quietly in the background on modern CPUs Microsoft Learn+1
Reasons some people turn it off
- older PCs may feel slower under full encryption
- you do frequent hardware changes or dual-booting
- you don’t want the risk of recovery-key lockout Tom’s Hardware+1
If you turn it off, do so only after backing up important data.
Performance Notes (SSD vs HDD)
On modern PCs with SSDs and hardware acceleration, BitLocker’s impact is usually small. On older devices—especially those without hardware encryption support—users can notice slower disk writes. This is one reason Microsoft is rolling out a more hardware-accelerated BitLocker layer starting in 2026. Windows Central+1
Best Practices for Safe Encryption on Windows 11
- Confirm your recovery key location before doing anything risky
BIOS updates? Reinstall? Drive swaps? Make sure you can access the key first. Windows Forum+1 - Use TPM + PIN if you want stronger protection (Pro editions)
It prevents a thief from auto-booting your device even with the TPM present. Windows Forum+1 - Suspend BitLocker before major firmware changes
Then resume after updating. This reduces recovery prompts. Windows Forum - Store at least two recovery-key copies
Cloud + offline is a good combo. Windows Forum+1 - Encrypt external drives if they contain sensitive data
Use BitLocker To Go (available on Pro/Enterprise). Online Computer Tips+1
Final Thoughts
BitLocker and Device Encryption in Windows 11 are both excellent defenses against data theft. The difference is mostly about control: BitLocker is the full professional toolkit, while Device Encryption is the automatic, simplified version for Home users. Both keep your data safe—as long as you save your recovery key somewhere you can actually access later.